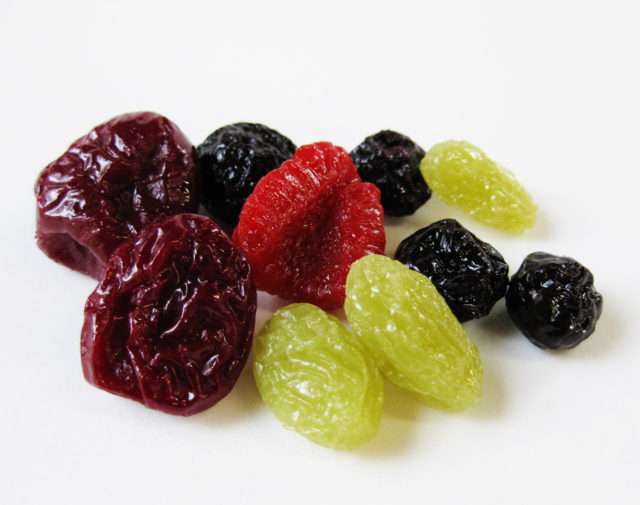
When you hear the word “dried fruit”, the first thing that comes to mind is raisin, or prune, or any dried fruit candy your grandmother used to make. Who doesn’t love dried fruit candies? Not only are they tasty, but they are also nutritious.
In this article, we will guide you on how to dehydrate fruit at home using a food dehydrator. Although you may do sun drying or use a solar dehydrator at home, drying time would be different from using the kitchen appliance.
Table of Contents
Nutritional Value of Dried Foods
But before anything else, you may wonder what nutrients will be left after fruits have run dry. Admittedly, drying results in the loss of some nutrients. Here are nutritional changes that usually occur during the drying process:
- As moisture is removed during the drying process, calorie content does not change but concentrated into a smaller mass
- There is no change in fiber content
- Vitamin A is fairly retained under controlled heating methods
- Since Vitamin C is water-soluble, it is mostly destroyed during blanching and drying
- The B vitamins like thiamin, riboflavin, and niacin are lost during blanching. But once rehydrated, and consumed, these vitamins are fairly retained.
- Soaking water in rehydration should be used so as not to lose those minerals
- Drying does not destroy iron.
For best results, store dried fruits in a cool, dark, and dry place. Consume dried fruits no longer than 1 year after drying.
RELATED ARTICLE: Why Dried Fruits and Vegetables Are Still Nutritious Despite Being Dry
Before You Start
Here are some general rules in drying fruits:
- Wash and peel the fruit well. Core it if necessary. For edible peels, it can be left on the fruit. But unpeeled fruits take more time to dry.
- Fruits you dry whole take much more time to dry, too.
- Cut fruits in half or slice them in even thickness.
- Because fruits contain sugar, it could be sticky while drying. To prevent this, spray non-stick cooking oil spray on the trays before drying.
- After one or two hours of drying, lift or turn each piece of dried fruit with a spatula and turn.
- Follow the pre-treatment procedures necessary before drying.
Importance of Pre-treating Fruits before Drying
If you’ll notice, there are fruits that change its color once cut and exposed to air. One of the best examples is the apple. This is the reason why a process called pretreating is recommended before drying. It prevents fruits from darkening before, during, and even after drying.
Another advantage of pretreating is it speeds up the drying process on fruits with tough skins.
According to some studies, pretreating using an acid solution or sodium metabisulfite dip helps in the destruction of harmful bacteria such as E. coli, Salmonella species, and L. monocyte genes during the drying process.
Overview of Sulfuring Method
Sulfur and sulfites have been used in pretreating fruits and vegetables for many years. Not only these prevent food discoloration, but these also prolong shelf life. No wonder, the commercial food industry prefers these chemicals for pretreatment.
However, studies show that these chemicals have been found to cause asthmatic reactions in some. The FDA has banned the use of sulfites on fruits and vegetables for sale or served raw to consumers. Thus, some people prefer to use alternative shorter-term pretreatments.
If you choose to use sulfites as a pretreating agent, use the USP (food grade) or Reagent Grade sodium metabisulfite (Na2S2O5). Do not use the Practical Grade. Sodium metabisulfite is available at wine-making supplies store, selected pharmacies or even on Amazon – Check price
For centuries, sulfuring is used to pretreat fruits. Sublimed sulfur is ignited to burn inside a box containing the fruit. Sulfur fumes penetrate the fruit to slow down spoilage and darkening. It is usually done outdoors where adequate air circulation is.
Alternative Methods
Sulfite Dip
Sulfite dips are a quick and easy alternative to sulfuring but with the same long-term effect on pretreating. Use the USP (food grade) or Reagent grade sodium bisulfite (NaHSO3) or sodium metabisulfite (Na2S2O5).
Procedure:
If using sodium bisulfite, dissolve ¾ to 1½ teaspoons sodium bisulfite per quart of water.
If using sodium sulfite, use 1½ to 3 teaspoons per quart of water
If using sodium metabisulfite, use 1 to 2 teaspoons per quart of water.
- Soak prepared fruit slices in the mixture for 5 minutes. If using prepared fruit halves, soak for 15 minutes.
- Remove fruit and rinse lightly with cold water and put them on drying trays.
- The fruits can be dried indoors or outdoors.
Note: the sulfite dip solution can only be used once.
Ascorbic Acid
It may not last as long as sulfuring or sulfite dips, but ascorbic acid (vitamin C) mixed with water is a good alternative pretreating agent.
You can easily obtain ascorbic acid from pharmacies, drugstores, or grocery stores. One teaspoon of powdered ascorbic acid is 3000 mg in tablet form. Therefore, if you have ascorbic tablets at home at 500 mg each, you’ll need six tablets.
You can purchase Ascorbic Acid online: Check price on Amazon
Procedure:
- Dissolve 1 teaspoon of powdered ascorbic acid in 2 cups water (or crush 6 tablets of 500 mg ascorbic acid and dissolve them in 2 cups water).
- Soak the prepared fruit in the solution for 3 to 5 minutes.
- Remove fruit and drain well. Place them on drying trays.
You may use the same solution twice. After the second time, you may just add more acid.
Ascorbic Acid Mixtures
Ascorbic acid mixtures are used in canning or freezing fruits. It is a mixture of ascorbic acid and sugar. This is more expensive and not as effective as pure ascorbic acid pretreating.
Procedure:
- Mix 1½ tablespoons of ascorbic acid mixture into one quart of water.
- Soak prepared fruit in the mixture for 3 to 5 minutes.
- Drain the fruit well and place them on drying trays.
You may use the same solution twice. After the second time, you may just add more acid mixture.
Fruit Juice Dip
Any fruit juice high in vitamin C is a good alternative to an ascorbic acid mixture. Juices like lemon, orange, pineapple, grape or cranberry may be used.
It may not be as effective as pure ascorbic acid and it might add its own color or flavor to the fruit you’re drying. But it is still worth to try.
Procedure:
- Put enough juice in a bowl.
- Soak prepared fruit slices in the juice for 3 to 5 minutes.
- Remove fruit, drain well, and place them on drying trays.
- You may use the same solution twice or can be consumed if you like.
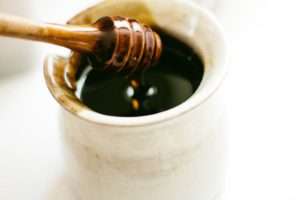
Honey Dip
Anything dipped in honey is sweet and delicious. Most dried fruits in stores have been honey-dipped, too. And you can make it at home. Just take note that honey-dipped fruits have more calories.
Procedure:
- Mix ½ cup sugar and 1½ cups boiling water.
- Let it cool until lukewarm before adding ½ cup, honey.
- Soak prepared fruit in the honey dip for 3 to 5 minutes.
- Remove, drain well, and place them on drying trays.
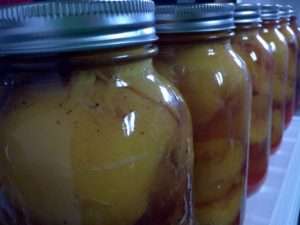
Syrup Blanching
Usually, this is the way your grandmother used to make candied fruit because this method retains color and prolongs storage. Apples, apricots, figs, nectarines, peaches, pears, and plums are just examples of fruits that can be blanched in syrup.
Procedure:
- In a saucepan, combine 1 cup sugar, 1 cup light corn syrup, and 2 cups water. Bring to a boil.
- Add 1 pound of prepared fruit and let it simmer for 10 minutes.
- Remove from heat and let it stand for 30 minutes.
- Lift out fruit from the syrup, rinse lightly in cold water, drain on a paper towel, and place on drying trays.
Steam Blanching
This is another type of blanching that retains color and slows the oxidation of fruits. But expect the flavor and texture of the fruit to change in the process.
Procedure:
- Boil enough water (about several inches) in a large saucepan with a tight-fitting lid.
- Place the prepared fruit in a steamer pan or wire basket not more than 2 inches deep.
- Cover saucepan tightly and start timing. See the table below for blanching time.
- You may check halfway through blanching. Some fruit need to be stirred.
- When done, remove excess moisture with paper towels and place them on drying trays.
| FRUIT | TIME | FRUIT | TIME |
| Apples | 3-5 mins depending on the texture | Apricots | 3-4 mins |
| Nectarines and peaches | 8 mins | Pears | 6 mins (halves) |
Drying the Fruit with a Dehydrator
Now that your prepared fruits are on the drying trays, it’s time to dry them in your food dehydrator. Here are some reminders before you turn on that kitchen appliance.
- The prepared fruit pieces should not touch or overlap each other to ensure even drying.
- For pitted or cored fruits, place them pit or core side up.
- Sun-drying can last from 2 to 6 days depending on the temperature and humidity.
- Due to differences in air circulation flow, drying time in a conventional oven maybe twice as long as the food dehydrator.
- Drying times vary for slices and other cuts of fruits.
- Watch closely as food dries faster at the end of the drying process.
Below is a table of drying time on a food dehydrator:
| FRUIT | TIME | FRUIT | TIME |
| Apples | 6-12 hours | Apricots | 24-36 hours |
| Bananas | 8-10 hours | Berries | 24-36 hours |
| Cherries | 24-36 hours | Citrus peel | 8-12 hours |
| Figs | 6-12 hours | Grapes | 12-20 hours |
| Nectarines and peaches | 36-48 hours | Pears | 24-36 hours |
| Persimmons | 12-15 hours | Pineapple | 24-36 hours |
| Plums | 24-36 hours | – | – |
RELATED ARTICLE: NESCO® FD-60 Snackmaster Food Dehydrator
Determining Dryness
Most dried fruits are eaten without the need for rehydrating. Therefore, they should be dried well, retaining about 20 percent of its moisture, and should be brittle.
To test for dryness, cut a few cooled pieces in half. No moisture should be visible. Try to squeeze out some moisture to check. Some fruits are pliable but not sticky. To check if berries are dried, shake them and hear if it rattles.
Let dried fruit cool for 30 minutes to one hour before packing. If you pack too early, dried fruit will sweat and builds moisture. If you pack too late, moisture may re-enter the food. For sun-dried fruits, pasteurize before packing.
Post-treatments
Conditioning
Sometimes, moisture that remained in the fruit is not distributed equally among fruit slices because of their size or their position inside the dehydrator. To equalize moisture and reduce the risk of molds, conditioning is done.
It is a post-treatment process where the dried fruit has cooled and packed loosely in jars. The containers are sealed for seven to ten days to allow the excess moisture to be absorbed by the other pieces.
Shake the jars daily to separate the pieces and to check for condensation. If condensation develops, take the fruit out to dry more. After conditioning, pack and store the dried fruit in jars.
Pasteurizing
It is inevitable, especially when sun drying, that insects might have contaminated the food before or during the drying process. Therefore, it should be pasteurized to kill the eggs that the insects had laid on. Pasteurization also removes excess moisture that has been reabsorbed during conditioning.
Freezer method
Place dried fruit in freezer containers and seal them well. Freeze for 48 hours to ensure the death of insects and eggs. Remove and pack immediately. Do not allow dried fruit to sweat or build moisture.
Oven method
Place dried fruit and reheat it in the oven at 150°F for 30 minutes
or 175°F for 15 minutes. Remove, cool quickly and pack immediately. If not done properly, it may burn the fruit and may result in additional vitamin loss.
Drying Fruit Leather
What about fruit puree, can we dry them? Yes, we can make fruit leathers out of purees. When poured on a flat surface to dry, the dried product is pulled from the surface and rolled. It looks shiny and has a texture like leather, thus its name.
Leather from Fresh Fruit
- Choose ripe or slightly overripe fruit.
- Wash fruit in cool water.
- Remove peel, seeds, and stems.
- Cut into chunks.
- Use 2 cups of fruit for every 13” x 15” square inch of fruit leather.
- Puree fruit until smooth.
For pretreatment, add 2 teaspoons of lemon juice or ⅛ teaspoon of ascorbic acid for every 2 cups of prepared fruit.
To sweeten, add corn syrup, honey or sugar. Syrup and honey are best because they don’t crystallize like sugar. Use sugar for immediate use or short storage only. Use ¼ to ½ cup sugar, syrup, or honey for every 2 cups of fruit.
Leathers From Canned or Frozen Fruits
You can still make fruit leathers if you only have canned or frozen fruit bought from the grocery.
- Drain the fruit but save the liquid.
- Use 1 pint of fruit for every 13” x 15” square inch of fruit leather.
- Puree until smooth. If too thick, add liquid.
For pretreatment, add 2 teaspoons of lemon juice or ⅛ teaspoon of ascorbic acid for every 2 cups prepared fruit.
To sweeten, add ¼ to ½ cup sugar, syrup, or honey for every 2 cups of fruit.
Drying the Leather
Use the specially designed plastic sheet or tray that comes with your food dehydrator. If none, a cookie sheet lined with a plastic wrap will do.
- Pour the leather onto the tray.
- Spread it evenly until you get about ⅛ inch thick.
- Dry the fruit puree at 140°F for 6 to 8 hours. To check for dryness, press the center with your finger. If no indention is left after touching, it’s dry.
- Peel the plastic wrap while still warm. Let it cool and re-wrap in plastic and store.
RELATED ARTICLE: Figuring Out Dried Figs
Packaging and Storing
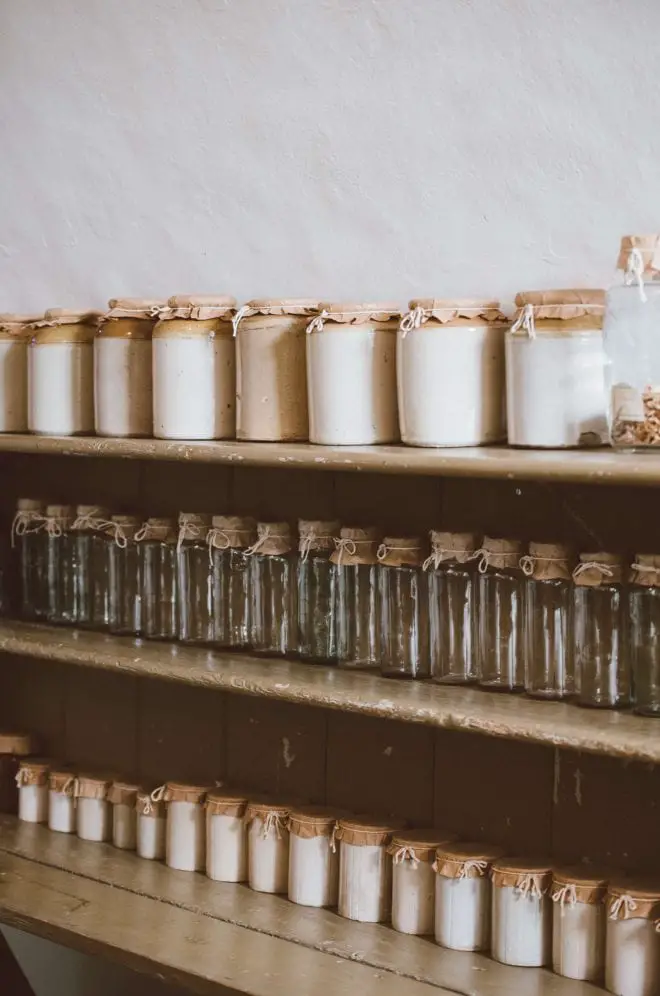
Let the dried fruits cool completely. Once cooled, pack them in clean, moisture and vapor resistant containers. Glass jars are the best containers. Metal cans are good, too. But fruits that have been pretreated in sulfur or sulfite should not be stored in metal cans. When storing in metal cans, place the dried fruit first in a plastic bag before storing in the can. Freezer containers are good, too. But plastic freezer bags are not insect and rodent-proof.
Dried fruit should be stored in a cool, dry, dark place. Most dried fruits can be stored for as long as 1 year at 60°F or 6 months at 80°F. Fruit leathers can be stored up to 1 month at room temperature. To store any dried fruit even longer, you may place it inside the freezer.
Using Dried Fruit
Usually, dried fruit and fruit leather are eaten as is. But dried fruit can also be reconstituted or rehydrated. Once rehydrated, it is treated as fresh fruit.
To reconstitute dried fruits, add water and soak until the desired volume is restored. See the table below for reference. Do not over-soak as this will lose its flavor and its texture will become mushy.
| FRUIT | WATER TO EVERY 1 CUP OF DRIED FRUIT | SOAKING TIME |
| Apples | 1½ cups | 30 minutes |
| Pears | 1¾ cups | 1 hour 15 minutes |
| Peaches | 2 cups | 1 hour 15 minutes |
Final Thoughts
Drying fruit is a good way for you to try your new food dehydrator at home. Not only will you produce candied fruits or fruit leathers, but it will also inspire you to move on to the next level: drying vegetables.
Success in drying fruits depends on heat, humidity, and air circulation. Just don’t forget to pretreat the fruit in any pretreatment agent you choose. After drying, don’t forget to condition or pasteurize the dried fruit before packing.
Dehydrating time may vary between food dehydrator models. Check your instruction manual for any difference.
Good luck!