
Table of Contents
Herbs vs. Spices
We always hear the phrase “herbs and spices” like they are inseparable. Generally, culinary herbs are used to flavor and garnish food due to its aroma and savory properties.
To distinguish herbs from spices, remember that herbs come from the leaves or flowers (either fresh or dried) of a plant while spices come from the fruit, seeds, bark, or roots of a plant and are usually dried.
Culinary herbs are not considered vegetables because they are used in small amounts for the purpose of enhancing flavor rather than the main ingredient of the dish.
Although we mentioned dried herbs before when we featured how to dry vegetables, we will discuss more in this article how to dry herbs.
Nothing compares to the natural and fresh but not all fresh herbs are available all-year-round. Therefore, preserving herbs is the next best thing. Aside from being safe from bacteria, mold, and yeast, dried herbs remain potent for at least 6 to 12 months.
RELATED ARTICLE: A Beginner’s Guide on How to Dry Vegetables
Selecting Herbs to Dry
Below are lists of herbs according to the plant part that could be dried.
Leaves
- Bay
- Celery
- Chervil
- Dill
- Marjoram
- Oregano
- Rosemary
- Sage
- Tarragon
- Thyme
Seeds
- Anise
- Caraway
- Coriander
- Cumin
- Dill
- Fennel
- Mustard
Flowers
- Chive
- Dill
- Thyme
For some herbs like basil, chives, cilantro, lemongrass, mint, and parsley, although they can be dried, they retain their flavor better if they are frozen rather than dried.
According to the National Center for Home Food Preservation, it is best to harvest herbs early in the morning, after the dew has dried and before the essential oils have been evaporated by the sun. Do not cut more than one-third of the branch at one time unless you’re planning to replace them with a new plant.
Remove any bruised, diseased, yellow, spotted, or dried leaves. These leaves are no longer suitable for drying. Gently shake the branches to remove any insects or excess soil. Rinse with cool water only if necessary and pat dry with paper towels.
When harvesting seeds, look for seed heads that are brown and hard but not yet ready to shatter. If harvesting flowers, snip the buds close to the day when buds are about to open.
6 Ways to Dry Herbs
Indoor Air Drying
This is the easiest method of drying herbs.
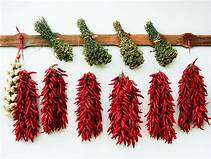
- Tie the stems in bundles and hang them upside down.
- Wrap them in muslin, mesh, or paper bag with holes and tie them. We suggest using twist-ties so you can easily tighten bundles when they shrink.
- Air dry them in a warm, dry spot but as much as possible, avoid the kitchen.
Or you can use drying mesh screens for leaves and sprigs. Lay a cheesecloth or another piece of screen for protection.
Herbs dry from a few hours to several days just air drying.
Drying Using a Food Dehydrator
Specialty home kitchen appliances like food dehydrators can cost you from $30 to $300 depending on the brand and model. We have featured some of them here.
Food dehydrators have features like an adjustable thermostat, timer, and consistent air circulation which makes drying convenient. Thus, it has become a good investment for those who are into food dehydration. Just follow the machine’s instructional manual for drying time and guide.
Below is a general drying guide for herbs using a food dehydrator. Again, check your machine’s instructional manual and follow that than this one.
| Herbs | Preparation | Drying Time | Uses |
|---|---|---|---|
| Anise leaves | Rinse in cold water, pat dry | 1-3 hours | Soups, stews, sauces, vegetable and fruit salads |
| Anise seeds | Rinse in hot water, pat dry | 2-5 hours | Rehydrate, use in cream sauce |
| Basil leaves | Clip leaves 3-4 inches from the top of the plant as first buds appear, pat dry | 20-24 hours | Italian and Mediterranean dishes, tomato dishes, meat, salads, soups, fish, poultry |
| Caraway | Clip entire plant. Dip in boiling water, pat dry. | 2-5 hours | Pork, sauerkraut, rye bread, cheese, vegetables, cookies |
| Chili peppers | Rinse and dice, pat dry | 5-12 hours | Powder for seasoning |
| Chives leaves | Chop, rinse in cold water, pat dry | 20-24 hours | Mild onion flavor, use in moist recipes |
| Cilantro leaves | Clip the stems. Rinse in cold water, pat dry | 15-18 hours | Mexican, Chinese, and Mediterranean dishes |
| Coriander seeds | Clip entire plant. Dip in boiling water, pat dry | 2-5 hours | Sausage, pickling spices, apple and pear dishes |
| Cumin seeds | Rinse in cold water, pat dry | 2-5 hours | Curries and chili dishes |
| Dill leaves | Rinse in cold water, pat dry | 1-3 hours | Salads, vegetables, potatoes, and fish |
| Fennel | Rinse in cold water, pat dry | 1-3 hours | Salads, soups, and stews |
| Fennel seeds | Rinse in cold water, pat dry | 2-5 hours | Cakes, cookies, breads |
| Garlic clove | Cut in half lengthwise, pat dry | 6-12 hours | Salt, powder, recipes |
| Ginger root | Rinse, cut into ⅜” or grate, pat dry | 2-5 hours | Meat, vegetables, cookies, and desserts |
| Ginger leaves | Rinse in cold water, pat dry | 1-3 hours | Soups |
| Marjoram leaves | Rinse in cold water, pat dry | 1-3 hours | Italian, meat, fish, poultry dishes |
| Mint leaves | Rinse in cold water, pat dry | 20-24 hours | Sauces, mint jelly, lamb dishes |
| Mustard seeds | Rinse in cold water, pat dry | 2-5 hours | Corned beef, sauerkraut, salad dressings, cabbage |
| Oregano leaves | Rinse in cold water, pat dry | 15-18 hours | Italian, Greek, Mexican, and tomato dishes |
| Parsley leaves/stems | Rinse in cold water, pat dry | 20-24 hours | Powder, use leaves for flakes |
| Rosemary leaves | Rinse in cold water, pat dry | 20-24 hours | Barbecue sauces, meat, poultry, lamb, vegetable dishes |
| Sage leaves/stems | Rinse in cold water, pat dry | 20-24 hours | Poultry, pork, lamb, veal, and fish dishes |
| Tarragon leaves | Rinse in cold water, pat dry | 20-24 hours | Sauces, salads, fish, and poultry |
| Thyme leaves | Rinse in cold water, pat dry | 1-3 hours |
Meat, fish, poultry, green beans, beets, carrots, and potatoes |
RELATED ARTICLE: NESCO® FD-60 Snackmaster Food Dehydrator
Oven Drying
It may sound so easy but drying herbs in an oven is actually labor-intensive and least energy-efficient. Yes, most of us do have an oven at home and know how to use it. But drying herbs for as low as 95°F to 100°F may not be possible in an oven because most ovens don’t go that low.
To successfully oven dry herbs, you need to keep the oven door ajar while drying to keep the temperature low and to keep the air continuously circulating. Place the herbs on a cheesecloth over a wire rack and place them in the middle of the oven when the temperature reaches about 100°F.
Herbs dry quickly and are therefore easier to oven-dry than fruits and vegetables. That being said it is not the ideal appliance to use since it uses a lot more power than a small appliance and temperature control is not easy which can vary your results every time.
Refrigerator Drying
This method was discovered by accident but proven to work best with parsley and chives. Simply put the herbs inside the cold but dry refrigerator area and leave them for a few days.
Sun Drying
If you live in a warm place, this should be easy. The ideal temperature for sun drying is at 100°F with 60% humidity or less. Place the leaves on mesh screens and cover them with another piece of screen or cheesecloth. Dry them under the sun until the herbs become brittle. However, do not expose herbs to too much sunlight as this may cause them to bleach.
Microwave Drying
Drying herbs using a microwave oven can be done. However, it is not as easy as air drying or using a food dehydrator.
- Place the leaves between layers of paper towels.
- Start on high for 1 minute, then let it rest for 30 seconds.
- Resume drying by alternately setting it on high for 30 seconds and resting for 30 seconds.
Herbs usually dry in 10 minutes or less.
Storing Home-Dried Herbs
Perfectly dried herbs crumble easily but don’t crumble them all. Essential oils of these herbs are retained in whole leaves and seeds. Also, you can prepare spice blends (like Italian, Mexican, or other mixes) using whole leaves and seeds. Just use a mortar and pestle to grind the ingredients you’ll combine.
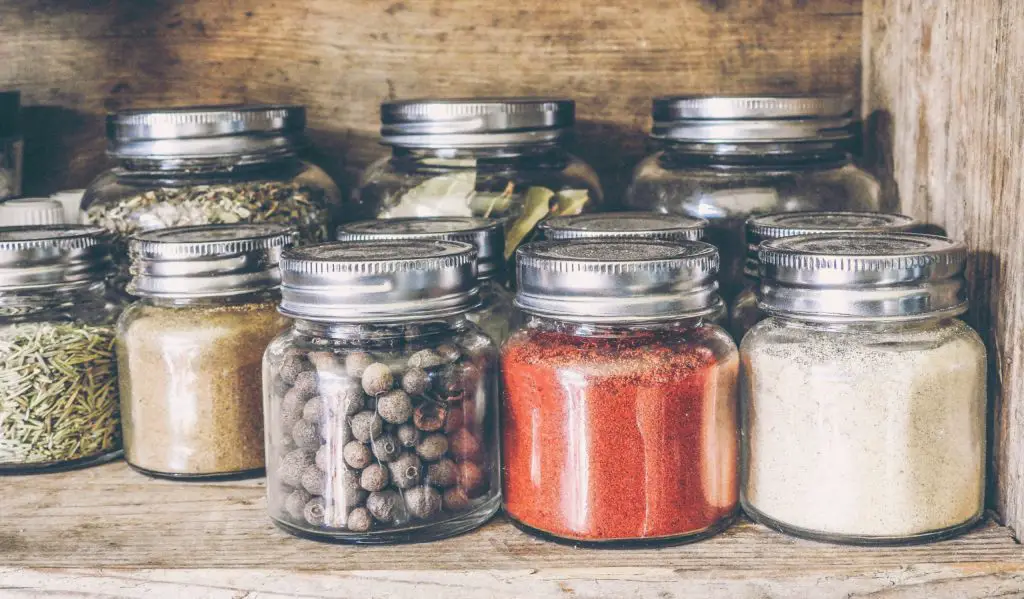
Store dried herbs in airtight jars. Keep them away from direct sunlight or heat. Label them properly with the date of drying, contents, and even specific varieties especially if you have a particular favorite.
Check jars for droplets of moisture. Dry again anything that created moisture in the jar. Throw out anything moldy.
Using Dried Herbs
When a recipe calls for fresh herbs, use half the amount of dried herbs or a quarter as much if finely ground. This is because dried herbs are more concentrated in oils and flavor than the fresh ones.
Use the dried herbs within a year as it loses its color and flavor as time goes by.
Final Thoughts
Now that you know how to dry herbs at home, you no longer need to buy bottled or packed herbs and spices at the supermarket. That would save you a lot of money!
If you want more tips on saving time and money through fun dehydrating tips, consider checking out our other articles. You can also check out our recommended food dehydrators in order to fully take advantage of the food dehydrating revolution! Recommended Dehydrators